Your cart
There are no more items in your cart

- Engine paint
- 0 likes
- 19184 views

If you own a motorcycle and want to refresh the appearance of its engine, our spray can for engines is the ideal solution. In this article, we will guide you through the process of painting your motorcycle engine using our specific metallic grey colour for motorcycle and car engines.
Types of Metallic Grey Paint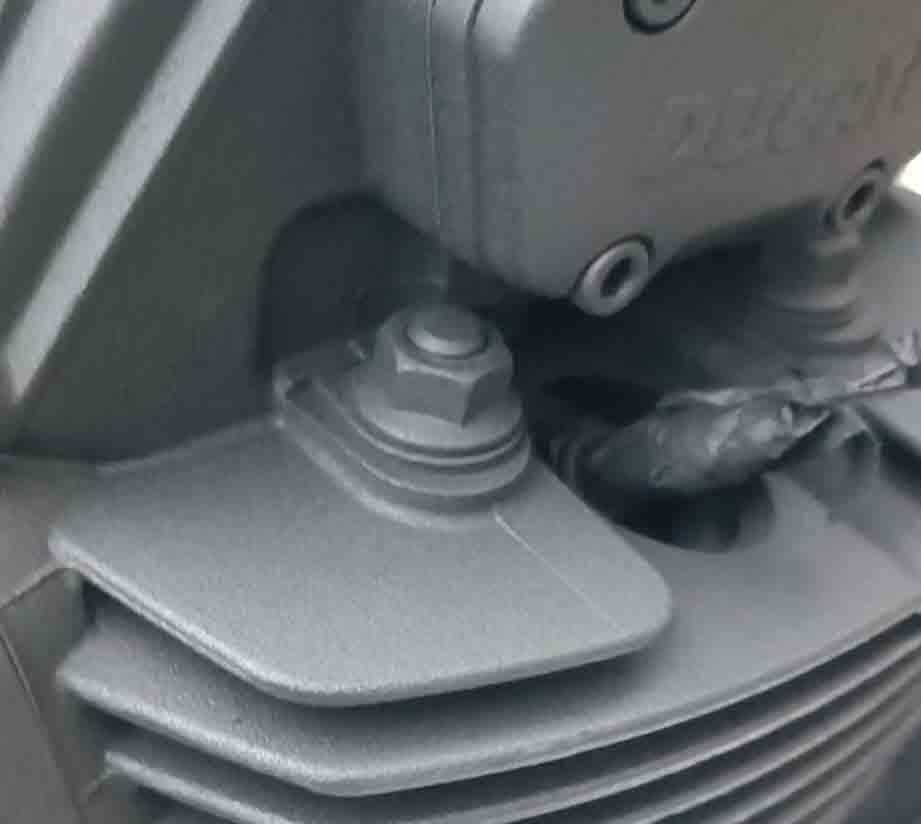
Before getting started, it is important to choose the right type of metallic grey for your motorcycle.
Grey for Vintage Engines This grey is flat and luminous, conceals the metallic shimmer and is ideal for vintage motorcycle engines.
Grey for Contemporary Engines This grey allows the metal to show through without being glossy, ideal for modern engines that require a satin finish.
Both types of grey are satin — neither glossy nor matte — and withstand the high temperatures of the engine and crankcases.
Engine Preparation
Cleaning Thoroughly clean all engine surfaces, removing dirt, grease and oil residue. Use specific engine degreasers — we recommend using our universal degreaser, capable of deeply cleaning all accumulated grease and dirt residue over time (find it here — universal degreaser). Thorough cleaning is essential to ensure the paint adheres correctly and no bubbles or imperfections form.
Sanding Lightly sand the surfaces to ensure the paint adheres properly. Use fine sandpaper (grit 400 or higher) to avoid deep scratches. Sand with uniform circular movements and periodically check the surface to avoid removing too much material.
Primer Apply a coat of white primer specifically designed for engines. This step is crucial to ensure a uniform base and improve paint adhesion. Make sure the primer is completely dry before proceeding with painting. Primer also helps prevent rust formation and improves the durability of the finish.
Paint Application
Shake the Can Shake the spray can well for at least one minute to ensure the colour is thoroughly mixed.
Spray the Paint Apply the spray paint in thin, uniform layers, maintaining a distance of approximately 25–30 cm from the surface. Allow each layer to dry for the time indicated in the product instructions before applying the next one. Applying too much paint in a single layer can cause runs and imperfections.
Complete Coverage Make sure to cover all areas of the engine, including the carburettor, driveshaft, crankcase, cylinders, cylinder heads, tank, and all frame or wheel parts. Use steady, controlled movements to ensure even coverage.
Protection and Finishing
Reinforcing the Paint Job For greater protection, apply a coat of 2K transparent spray, matte or gloss. This step is optional but recommended for a more durable finish. The transparent spray adds an additional layer of protection against external agents and increases the longevity of the paint job.
Resistance Our paint resists petrol, oil, grease, sun and rain, but must not be used on exhaust pipes. For exhausts, use a specific spray rated for high temperatures up to 600 degrees. It is important to follow the manufacturer's instructions to ensure correct application and optimal performance.
Final Tips
Painting Environment Paint in a well-ventilated, dust-free area. A clean environment reduces the risk of paint contamination and ensures a smooth, uniform finish.
Personal Protection Wear gloves, a face mask and protective goggles to avoid contact with the paint. Personal safety is essential during the painting process to prevent skin irritation and inhalation of toxic fumes.
Complete Drying Allow the engine to dry completely before putting it back into operation to avoid damaging the new paint job. Follow the drying times indicated in the product instructions and, if possible, leave the engine in a dry, ventilated area to ensure complete curing of the paint.
By following these steps, you will achieve a professional and long-lasting result, improving both the appearance and protection of your motorcycle engine. Good luck!